

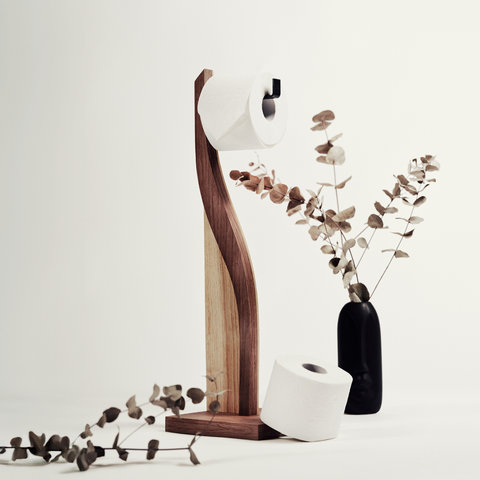
Support papier toilette DROP
Étape 1 : Marquer les points de perçage
-
Tenez le porte-papier toilette contre le mur à la hauteur et à l’emplacement souhaités.
-
Marquez les points de perçage à travers les ouvertures de fixation situées de chaque côté.
-
Vous pouvez utiliser tous les trous ou seulement les deux trous supérieurs si vous le préférez.
-
-
Vérifiez une dernière fois que le support est bien droit avant de percer.
Étape 2 : Percer les trous et insérer les chevilles
-
Percez les trous aux emplacements marqués à l’aide du foret adapté.
-
Choisissez les chevilles selon votre type de mur :
-
Murs en béton ou en brique → utilisez des chevilles robustes.
-
Plaque de plâtre / gyproc → utilisez des chevilles spéciales placo.
-
Murs en bois → les vis peuvent être installées directement sans chevilles.
-
-
Insérez les chevilles dans les trous percés jusqu’à ce qu’elles soient parfaitement au niveau du mur.
Étape 3 : Fixer les points de montage
-
Insérez partiellement les vis dans les chevilles.
-
Laissez un petit espace afin que le porte-papier toilette puisse glisser sur les vis.
Étape 4 : Installer le porte-papier toilette
-
Positionnez le support sur les vis.
-
Faites-le glisser doucement sur les têtes de vis jusqu’à ce qu’il soit bien fixé.
-
Resserrez légèrement si nécessaire afin d’éviter tout mouvement.
Vérifications finales
-
Assurez-vous que le support est droit et solidement fixé.
-
Testez-le en plaçant un rouleau de papier toilette sur le support.
-
Si un mouvement apparaît, resserrez légèrement les vis.
Shop products from this instruction
Soporte para Papel Higiénico - Bridge
Portarrollos de papel higiénico de pie

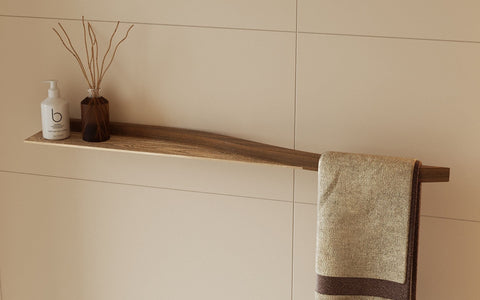
Porte-papier toilette mural - ángyra

Soporte para papel higiénico en forma de U
Soporte de papel higiénico - CLOUD

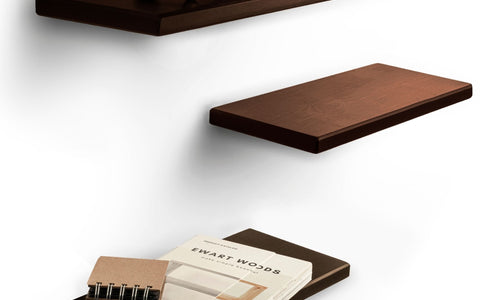
Estante de papel higiénico de madera HONEYCOMB

Soporte para papel higiénico - DROP

Soporte para Papel Higiénico - SMILE

Portarrollos de papel higiénico de mesa


Screws seem rather stiff for the wood. Do I need to force them in?
Dejar un comentario