

Instructions de l’étagère d’angle en bois
Étape 1 : Marquer les points de perçage sur l’étagère
-
Prenez l’étagère murale d’angle en bois et faites des marques visibles sur le côté où les trous seront percés.
-
Cette étape permet à l’étagère d’angle de rangement d’être correctement alignée une fois installée.
Étape 2 : Marquer les positions des vis sur le mur
-
Tenez l’étagère murale d’angle à l’endroit souhaité et utilisez un crayon pour marquer les emplacements des vis.
-
Pour un résultat optimal, vérifiez avec un niveau à bulle afin que votre étagère d’angle flottante soit parfaitement droite.
Étape 3 : Percer les trous et insérer les vis
-
Percez aux marques réalisées sur le mur. Si vous installez l’étagère sur du béton, de la brique ou du placo, utilisez des chevilles adaptées pour assurer la stabilité.
-
Insérez les vis en laissant environ 2,5 cm dépasser du mur.
-
Sur le côté, laissez la vis dépasser d’environ 8 mm afin que l’étagère d’angle en bois puisse se verrouiller correctement.
Étape 4 : Installer l’étagère d’angle en bois
-
Alignez l’étagère avec les vis puis poussez-la doucement en place.
-
Assurez-vous que l’étagère d’angle flottante DIY soit bien ajustée et parfaitement plaquée contre le mur.
-
Appliquez une légère pression afin de tester la stabilité avant d’y déposer des objets.
Vérifications finales
-
Vérifiez que votre étagère murale d’angle en bois est stable et bien droite.
-
Resserrez légèrement les vis si nécessaire.
-
Effacez les marques de crayon pour finaliser le rendu propre et minimaliste de votre nouvelle étagère d’angle de rangement.
Plus d’inspiration
Jouets d’équilibre Support pour casque audio Support téléphone Organisateur de table
Crochets de salle de bain Meubles pour enfants Triangle Pikler Porte-papier toilette
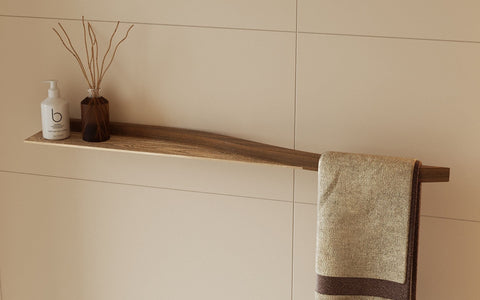
Miroirs de salle de bain Étagère enfant Étagères Porte-serviettes
Marchepieds de salle de bain Organisateur de cuisine Plateau pour accoudoir de canapé Support à vin
Art mural décoratif Porte-couteaux Étagère à épices Étagère en bois
Table de chevet flottante Étagère métallique Table de chevet sur pied
Shop products from this instruction
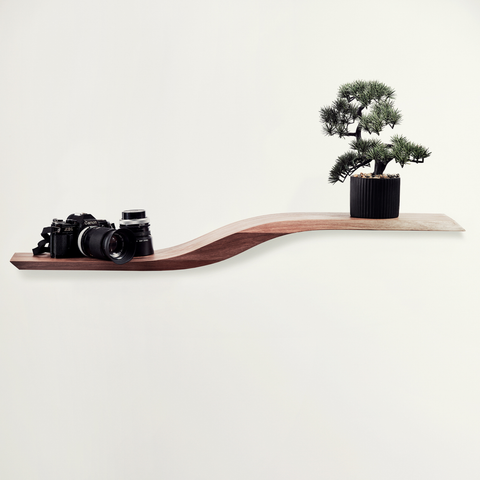
Étagère flottante blanche CurveLine
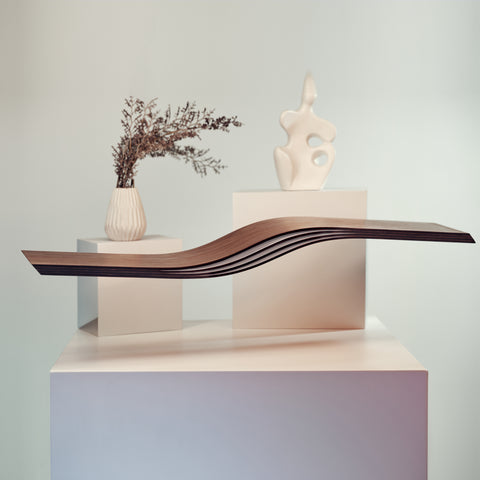
Estante colgante flotante de pared de madera en forma de onda
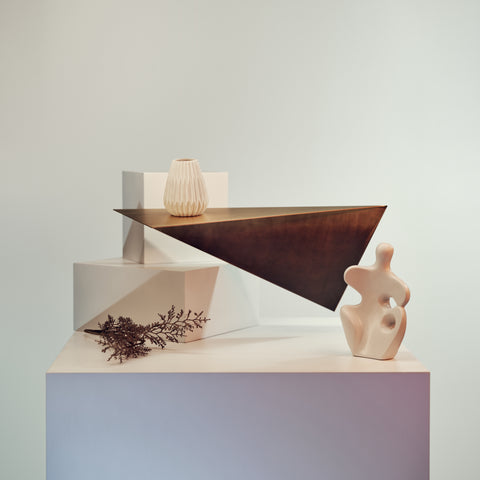
Estante colgante de pared de metal en latón
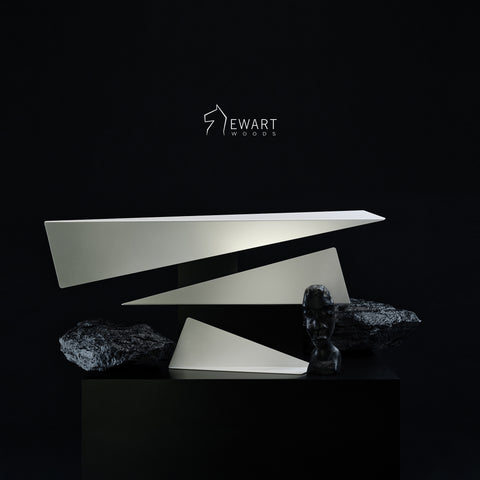
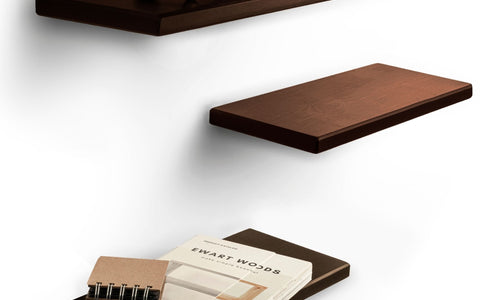
Estantes de metal rústico (juego de 3)
Estante de metal ELLIPSE
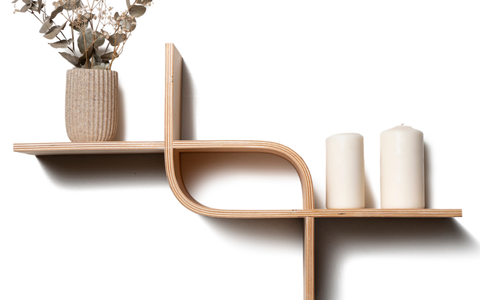
Lot de 3 étagères murales flottantes LOOP
Étagère flottante CurveLine
Estante colgante flotante de pared clásico de madera - Onda simple

Estante colgante flotante de pared de madera en forma de onda


Dejar un comentario